Hunting-Washington.com
A Pacific Northwest Hunting Resource
Calling Bears | How to mount a Whitetail Deer | Bear Rug and Life Size Skinning Info | Fish Field Care

A Pacific Northwest Hunting Resource
Calling Bears | How to mount a Whitetail Deer | Bear Rug and Life Size Skinning Info | Fish Field Care
Now that you have the clay work done on your face. Put a rubber glove on and smear hide past all over the face. Make sure not to get any in the hair. If you do wipe it off with a damp rag. Also make sure you get glue in the tear duct and lip slots you cut with the dremal tool. If you get some glue on the eye wipe it off with a Q-tip and water.

Once the glue is on the face pull the cape back over the face
on the mannequin.
Now it is time to tuck the nose. I have a special tool I use for this
but you can use anything that works. Trim the nose skin so you only
tuck about 1/4 inch or so. Center up the nose pad on the form and tuck
the nose skin into each nostril on the mannequin. Put 2 pin's in the
front corner of the nose and the top of the nostril. You will use a
brad and insert it into the back corner of the nose. The brad will stay
there forever so don't worry bout removing it. Once the skin is in
place and aligned stuff plastic up inside the nose to seep the skin
from pulling free.
Now for the lips. You will want to trim 1/4" of skin out of the back
corner of the cape. You will also want to trim the lip skin. You will
on'y need about a 1/4" or so. The reason why you trim the lip skin from
the back corner of the mouth is to keep it from puckering when you tuck
it. Start with the top lip and tuck it first. Before you tuck the
bottom lip take a small roll of clay and put it just under the nose on
the bottom lip. Now tuck the bottom lip leaving the bottom lip exposed
just under the nose. Do not expose the bottom lips any wider than the
nose. Maybe 1" of bottom lip under the nose should be perfect. Now work
the clay around until it makes the bottom lip look full.
Once you have completed that you will want to pin the top and bottom
lips. Starting with the bottom lip and then pinning the top. I use 2
1/2" "T" pins for the bottom lip and 1" "T" pins for the top lip.


It is now time to work on the eyes. You will want to make sure when you prep your cape before you begin mounting it, and that the eye skin is as thin as possible. The thicker the skin the more shrinkage you will get. When you go to set the eyes you will want about 1/8" to 3/16' of inner eye skin to tuck. The inner eye skin in the picture below is white colored.
Once you have trimmed the skin take a brad and put it in the front corner of the eye skin. Just before it goes from white to brown. Now insert the pin just in front of the glass eye. This will help keep this area from pulling as the cape and clay dry. Now tuck the rest of the eye skin up between the glass eye and the clay. Keep pushing the clay back up against the eye so there won't be a gap when it dries. Once the clay is tucked in the upper eye lid.
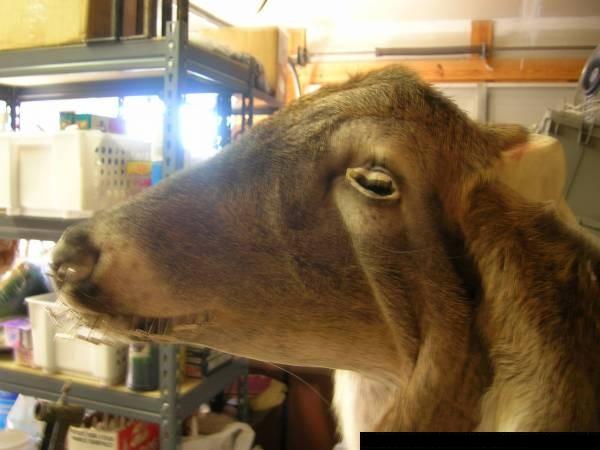
If you look hard you can see the brad in the front corner of
the eye. It is recessed so when i do my finish work after the mount is
dry you will never know it is there.... Make sure when you tuck the eye
skin and model in the eye lid that the eye lashes are at a 45 degree
angle to the eye.
Once you are done with the eye you will need to take a tucking tool or
a screw driver and tuck the tear ducts. One tucked I use a T pin cut
off in the shape of an "L" and Tuck 3 of them in the tear duct to keep
it in place than I take that small piece of clay I put in the front of
the tear duct and smash it back over the tear duct to close it....

Once the eyes are set go ahead and screw the horns on top of the mannequin.
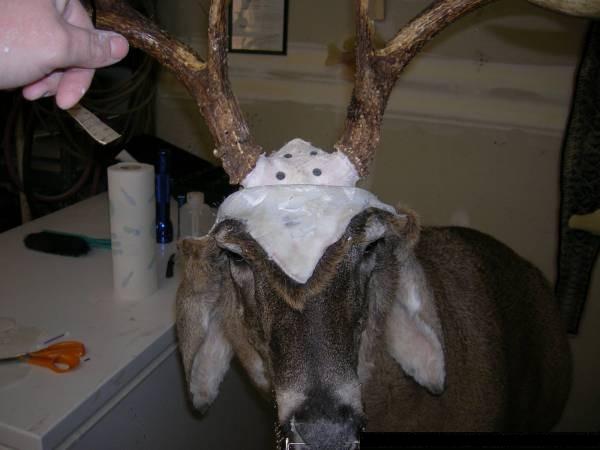
Use some clay and build up the top of the head. Also use a scale and weigh out 2 - 8oz balls of clay. You will use these to model in the ear butts.
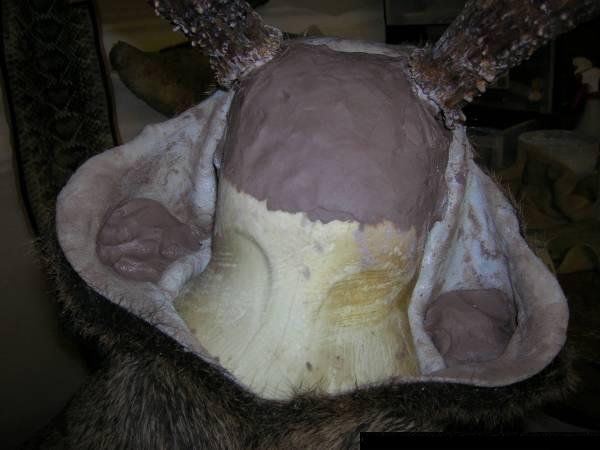
Using your 6 inch needle.
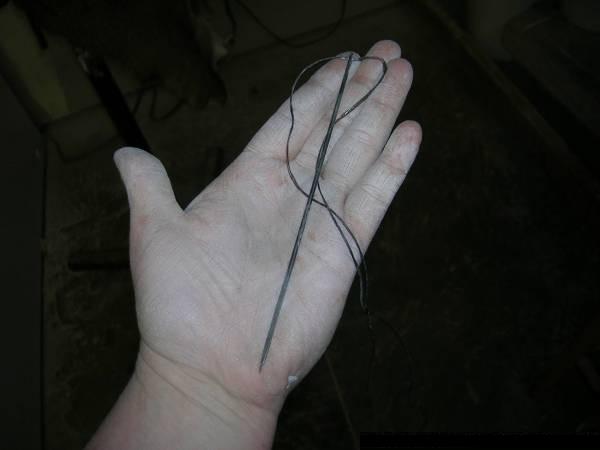
You will want to sew up the 2 "Y's" coming off of the antler bur. Stopping at the "Y" junction.
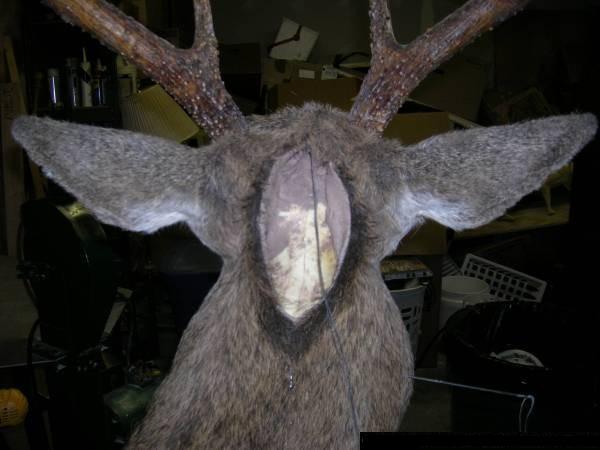
Once you have the 2 "Y's" sewn up set your ear butts. This is probably going to take you a while because you have to sculpt in the the muscle detail.
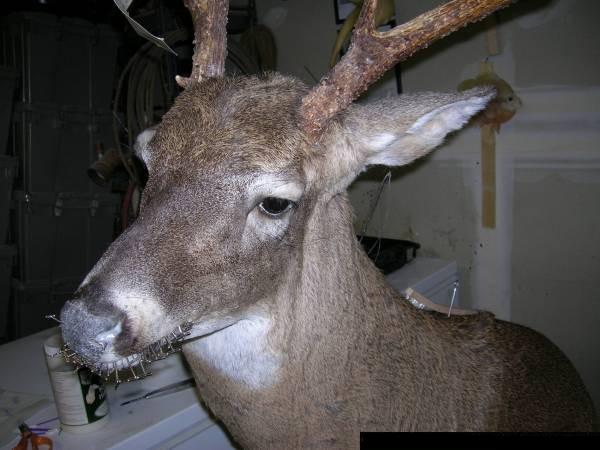
Now sew the cape the rest of the way down the "Y" incision. Once this is complete wet the hair and comb it until it lays flat and the way you want it. Than you will cut some plastic screen to staple over the incision. This will keep the hair around the incision from standing up as the mount dries.
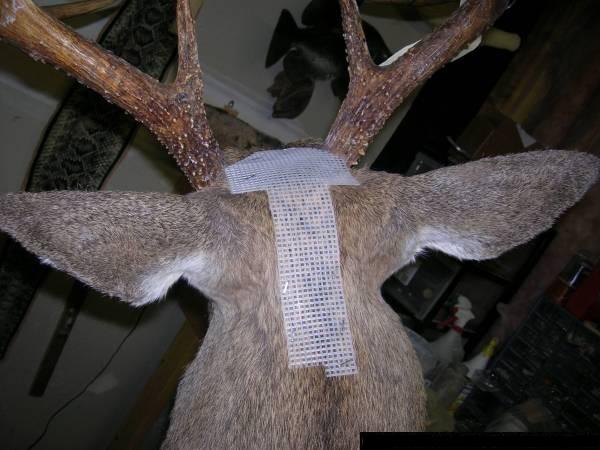
Ok your icision is all sewn up and it is now time to turn the deer upside down. Roll the cape up to the ears and put another rubber glove on. Smear hide paste all over the main body of the mannequin as so...
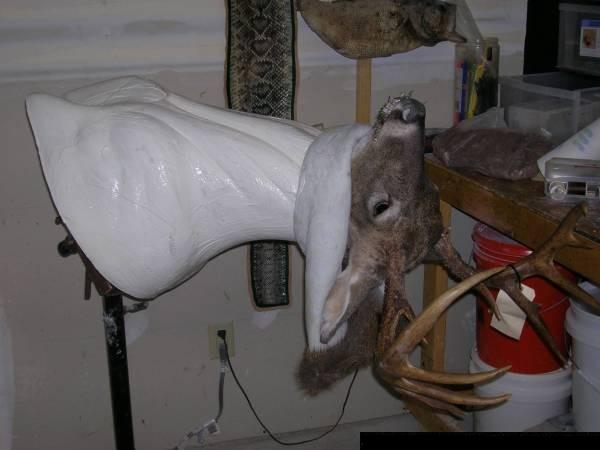
Now roll the hide back up onto the form. Align the brisket and put 10 staples to keep it lighned up. Now flip the deer back over and put 10 staples at the top. Make sure the arm pit is lined up as well. Staple the hide all the way around the back of the form and trim it off.
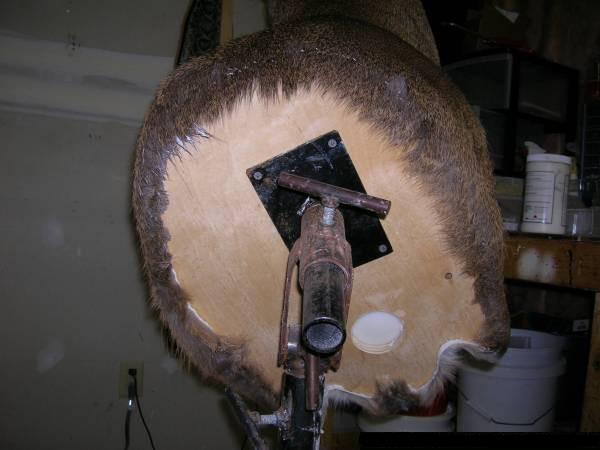
Run your hands along the detail of the mount and make sure their are no air bubbles. If you find some poke the skin with your needle and the air will escape.
Once you have completed all these steps set the mount aside and let it dry for 2 weeks!

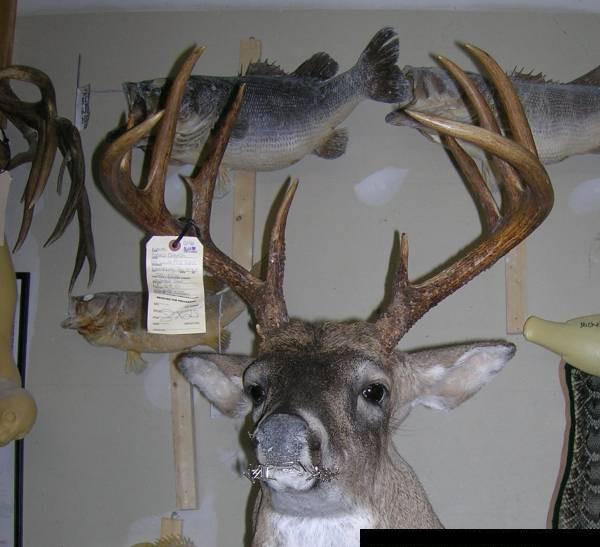
Now that the mount has set aside for 2 weeks it should be
ready to finish out. I use an air brush to paint my
mounts. Before I paint however I use my air
compressor to blow the mount off and anything that has collected on the
hair, like dust during the drying process. I also do any epoxy work
needed and let it dry before I paint.
I will use Flesh, Superhide White, Bass Belly White, Black, and Burnt
Umber. I mix my own colors when I paint deer. I
don't use what comes straight out of the bottle. It's close
but not close enough for me.
For the inside of the nose I use Flesh, Bass Belly White, and a few
brops of Black.
For the ears I start with Flesh and lightly spray the inside of the
ears. I let that dry and come back with a tooth
brush and brush any over spray off the inside ear hair. Then I lightly
spray a 50/50 mix of Superhide White and Bass Belly White over the
flesh so it has a light flesh tone to the ear.
For the eyes I use 50/50 mix of Burnt Umber and Laquer Thinner.
For the outside of the nose I dot it with Modge Podge and paint it with
black. The Modge Podge adds texture to the nose.
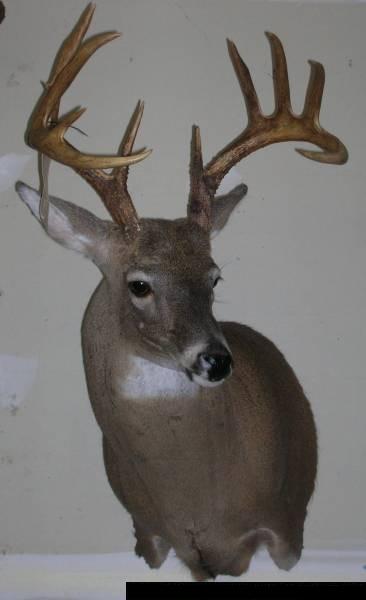
This is the finished product.

© 2008 Hunting-Washington.com